Order Number: AA--PSVFG--TE
This guide describes how to use the DECprint Supervisor for OpenVMS software to print files on PostScript printers.
Revision/Update Information: This guide supersedes AA--PSVFF--TE.
Operating System & Versions:
OpenVMS Alpha, Version 6.2, 7.2-2, 7.3 or 7.3-1
OpenVMS VAX, Version 5.5-2, 7.2 or 7.3
Software Version: Compaq DECprint Supervisor (DCPS) for OpenVMS, Version 2.1
Compaq Computer Corporation
Houston, Texas
© 2002 Compaq Information Technologies Group, L.P.
Compaq, the Compaq logo, Alpha, DCPS, DECnet, OpenVMS, VAX and VMS are trademarks of Compaq Information Technologies Group, L.P. in the U.S. and/or other countries.
Microsoft and Windows are trademarks of Microsoft Corporation in the U.S. and/or other countries.
All other product names mentioned herin may be trademarks of their respective companies.
Confidential computer software. Valid license from Compaq required for possession, use, or copying. Consistent with FAR 12.211 and 12.212, Commercial Computer Software, Computer Software Documentation, and Technical Data for Commercial Items are licensed to the U.S. Government under vendor's standard commercial license.
Compaq shall not be liable for technical or editorial errors or omissions contained herein. The information is provided "as is" without warranty of any kind and is subject to change without notice. The warranties for Compaq products are set forth in the express limited warranty statements accompanying such products. Nothing herein should be construed as constituting an additional warranty.
The DECprint Supervisor documentation set is available on CD-ROM.
| Contents | Index |
DECprint Supervisor (DCPS) for OpenVMS is a layered product that enables you to print a wide range of documents, such as envelopes, presentations and manuals. The following paragraphs highlight some of its features.
DECprint Supervisor software allows you to print to PostScript printers from a variety of platforms, including:
DECprint Supervisor software can accommodate a wide variety of page layouts. You can create wide tables or spreadsheets and print them in landscape orientation. If you want to save paper, you can print four pages of text on one sheet of paper. You can even add borders to your document or create and print custom documents.
DECprint Supervisor supports selected printers from Apple, Compaq, DIGITAL, GENICOM, HP, IBM, Lexmark, Tektronix and Xerox. See the DCPS Software Product Description (SPD) for the list of supported printers.
Whether you want to print PCL or PostScript files, DECprint Supervisor provides the means to print those files with one simple command. DCPS supports the following data types:
The information in this guide is intended for users at all levels of experience. It contains step-by-step procedures for most printing tasks. The book is divided into two major sections:
Each section is divided into small task groups.
To help you understand the information in this guide, we have incorporated the following conventions:
| Convention | Meaning |
|---|---|
| UPPERCASE | Uppercase characters indicate commands, qualifiers, and parameters. |
| italics | Italic characters in command examples show a variable. You can substitute a word or value of your choice. |
| bold | In examples, we use bold type to show commands that you enter. |
| [] | Brackets indicate that the enclosed item is optional. |
| Ctrl/ x | This symbol indicates a control key sequence. Press the key labeled Ctrl while you simultaneously press another key, represented by x. |
| This Chapter ... | Explains How To ... |
|---|---|
| Chapter 1 | Print files |
| Chapter 2 | Display the status of print jobs and print queues |
| Chapter 3 | Specify input and output trays for your print job |
To print files, you need to do the following:
For example:
$ PRINT /QUEUE=MYPRINTER /PARAMETER=DATA_TYPE=POSTSCRIPT SUMMER.PS |
This example specifies:
The following sections show you some of the techniques you can use to print custom documents.
1.2 Selecting a Data Type
To specify the data type of your print job, use the
/DATA_TYPE=parameter qualifier. For example:
$ PRINT /QUEUE=MYPRINTER /PARAMETER=DATA_TYPE=ASCII |
You can choose from any of the following data type parameters:
ASCII
ANSI
DDIF
List
PCL
PostScript
Proprinter
ReGIS
Tek4014
For more information about the various data types, see Chapters
4 through Chapter 9.
1.3 Printing Two-Sided Documents
Some PostScript printers can print on two sides of each sheet of paper, also known as duplex printing. You can print a document on both sides of the paper if you include the SIDES=2 parameter in the PRINT command.
For example:
$ PRINT /PARAMETERS=SIDES=2 MYFILE.PS |
If the printer does not support two-sided printing, your print job is terminated and the following message is displayed:
DCPS-E-DPLXNOSUP, printer-name does not support duplex printing |
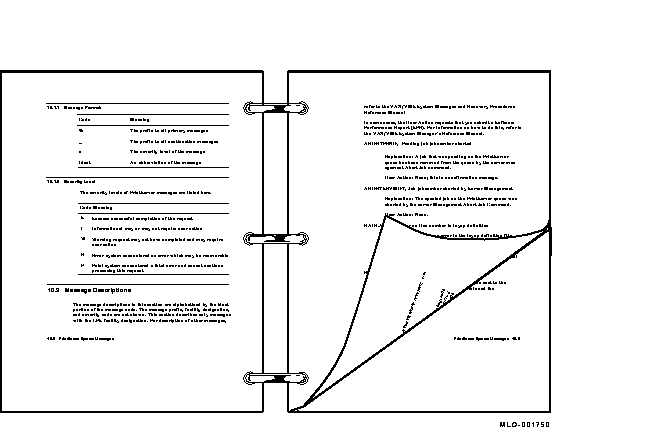
See Figure 1-1 for an example of a two-sided document.
Figure 1-1 Two-Sided Printing

To specify the page orientation, use the PAGE_ORIENTATION parameter with either the PORTRAIT or LANDSCAPE keyword. For example:
$ PRINT /PARAMETERS=PAGE_ORIENTATION=LANDSCAPE MYFILE.TXT |
Do not use this parameter with PostScript and DDIF files because these types of files already contain printing instructions that include orientation. If you include the PAGE_ORIENTATION parameter for these types of files, your specification is ignored and the print job is printed following the instructions in the file. |
Figure 1-1 shows pages printed in portrait orientation. For advanced methods of printing documents, see Chapter 10.
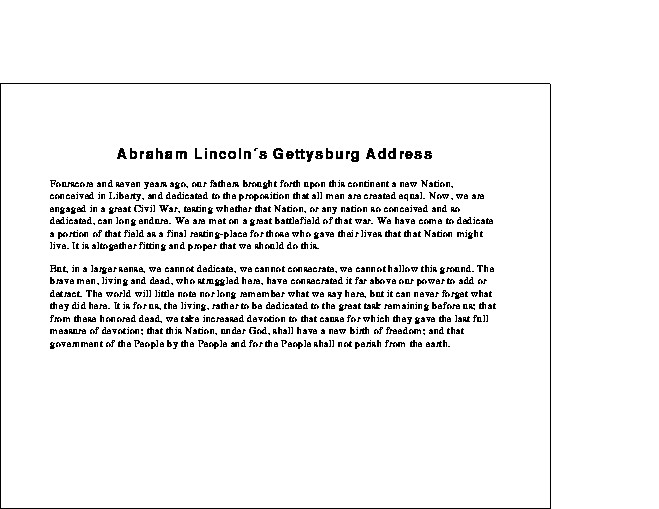
Figure 1-2 shows a page printed in landscape orientation.
Figure 1-2 Landscape Orientation

To make multiple copies of a file, use any of the following commands:
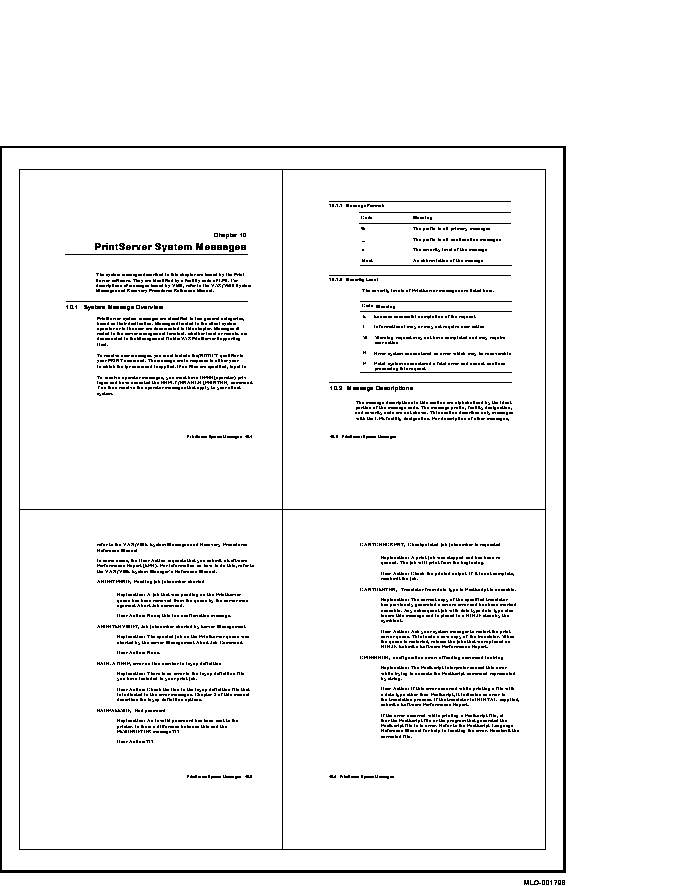
You can print more than one page on each side of a sheet of paper. This technique saves paper and can also be used to provide customized printed documents. For example, you can print four pages on each side of a sheet, as shown in Figure 1-3.
Use the NUMBER_UP parameter in the PRINT command to specify the number of pages to print on each side of a sheet of paper. For example:
$ PRINT /PARAMETERS=NUMBER_UP=4 MYFILE.PS |
To fit multiple pages on a side, the DECprint Supervisor software changes the size of the logical pages in the document to fit in the area on the physical sheet. This change does not affect the relationship of the page height to the page width.
Figure 1-3 Printing Four Pages to a Sheet (NUMBER_UP =4)

You can print a specific page or range of pages in a print job. This feature may be useful, for example, when you continue a large print job that was terminated in the middle of printing.
To print only a specific range of pages from the print job, include the PAGE_LIMIT parameter in the PRINT command. Include one or two page numbers to specify the range of pages. For example, to print only the 50th through the 100th page of a print job, enter the following command:
$ PRINT /PARAMETERS="PAGE_LIMIT=(50,100)" MYFILE.PS |
Quotation marks are required when the parameter value contains a comma, as in this PAGE_LIMIT parameter. |
The pages you specify do not correspond to the page numbers in the document. They represent the number of pages that have been printed. You can print the last portion of this same document by using the following command:
$ PRINT /PARAMETERS="PAGE_LIMIT=(50,)" MYFILE.PS |
This command instructs the DECprint Supervisor software to start printing at the 50th page in the document, and continue to the end of the document.
You can print the first part of a document by using the following command:
$ PRINT /PARAMETERS=PAGE_LIMIT=50 MYFILE.PS |
This command instructs the DECprint Supervisor software to print the first 50 pages of the document.
When you use the PAGE_LIMIT parameter, your print job completes when the upper-limit value is reached. Therefore, if you specify the PAGE_LIMIT parameter and do not print to the end of the file, you do not get a file trailer page for the file that was cut off. The rest of the data for that file and for any subsequent files for that print job is ignored.
The maximum PAGE_LIMIT value, for either the starting or ending page,
is 999999.
1.8 Delays in Deleting an Entry or Stopping a Queue
If DCPS has problems communicating with a printer when processing a
STOP/QUEUE/NEXT or DELETE/ENTRY request, it may take several minutes
before DCPS considers the request completed. Eventually, however, it
will stop waiting for a response from the printer that the current job
has been cancelled.
1.9 File Formats
If you are copying your file from a system running another operating system to an OpenVMS system and then printing it, the resulting file must have one of the OpenVMS file formats listed in Table 1-1.
| OpenVMS Record Format | Record Attributes |
|---|---|
| Stream | Any |
| Variable length | None |
| Undefined | Any |
| Fixed format | None |
| Indexed | Any |
| Relative | Any |
When you copy files with binary data, such as images and fonts, make sure you copy the file in binary mode. For example, use binary mode in FTP or use COPY /B from a Windows system. |
DCPS allows you to print files that utilize an indexed, relative or sequential file organization.
Indexed and relative files are accessed sequentially, by their primary index and relative record number respectively. This is consistent with the TYPE command.
Indexed and relative files frequently contain binary data. Attempting to print files containing such unprintable binary data can give unpredictable and probably undesirable results. |
You can display, delete, and modify your print jobs using the commands
described in this chapter. You can also list the print jobs in the
queue and the status of your print jobs.
2.1 Displaying Print Jobs
The SHOW ENTRY command allows you to display information about your print jobs.
If you want to see the status of a particular print job, include the job number in the SHOW ENTRY command. For example:
$ SHOW ENTRY 96 |
Entry        Jobname         Username   Blocks  Status
-----        --------        --------   ------  ------
96           MEMO            MSMITH     114     Holding until 27-MAR-2002 17:00
    On idle printer queue LP40$A14
|
You can get more information about the print job if you include the /FULL qualifier. For example:
$ SHOW ENTRY 96/FULL |
Entry        Jobname         Username  Blocks  Status
-----        --------        --------  ------  ------
96           MEMO            MSMITH    114     Holding until 27-MAR-2002 17:00
    On idle printer queue LPS40$A14
    Submitted 27-MAR-2002 10:36 /FORM=DCPS$DEFAULT (stock=DEFAULT) /NOTIFY
    /PARAM=("DATA=AUTOMATIC") /PRIORITY=100
    File: _$1$DUA10:[MSMITH]MEMO.TXT;1
    File: _$1$DUA10:[MSMITH]FILE_SNIFF.TXT;1
    File: _$1$DUA10:[MSMITH]INFOPLAN.TXT;1
    File: _$1$DUA10:[MSMITH]MONTHLY_REPORT.TXT;2
    File: _$1$DUA10:[MSMITH]SPECIAL_SEPARATION_PAGES.TXT;1
    File: _$1$DUA10:[MSMITH]VTPW.TXT;1
|
The /FULL qualifier displays the status of the print job in the queue. The print job in the example is holding, because it was submitted with the /AFTER qualifier to delay starting the print job. The print job status may be any one of those listed in Table 2-1.
| Status | Meaning |
|---|---|
| Printing | On a local printer, the print job is currently printing. On a network printer, the print job may be printing, or a job from another system may be printing. |
| Pending | The print job is waiting to be printed. Other print jobs are ahead of this job in the queue, or the job is waiting for the appropriate type of media to be mounted in the printer. |
| Holding | The print job is waiting to print because it was submitted with the /AFTER qualifier or the /HOLD qualifier, or the SET ENTRY/HOLD command was entered for the job. To release the print job for printing, use the /RELEASE qualifier in the SET ENTRY command (see Section 2.4). |
| Stalled | The job started, but is now stalled, possibly due to a paper jam or tray out of paper. |
| Aborting | The job has been aborted with a DELETE /ENTRY command. (See Section 2.3 for more information.) |
| Retained | The print job has completed but it is being retained in the queue. |
You can display all your print jobs by entering the SHOW ENTRY command without specifying the print job number. For example:
$ SHOW ENTRY |
Entry        Jobname         Username  Blocks  Status
-----        --------        --------  ------  ------
96           MEMO            MSMITH    114     Holding until 27-MAR-2002 17:00
    On busy printer queue LP40$A14
75           AUTO            MSMITH    368     Pending
    On busy printer queue PS40$A10
68           BOOK_LIST       MSMITH     78     Printing
    On busy printer queue PS40$A10
|
You can use the following qualifiers with the SHOW ENTRY command to display print jobs:
| SHOW ENTRY Qualifier | Displays ... |
|---|---|
| /BRIEF | A short summary about one or more print jobs. This is the default display if you do not include the /FULL qualifier. |
| /BY_JOB_STATUS=( keyword,...) | Print jobs that have the status you specify for the keyword. The status types are listed in Table 2-1. |
| /FILES | The file names of the files in each print job displayed. |
| /FULL | Complete information about the print job, including job status and files to be printed. |
| /USER_NAME= user-name | The print jobs for the user you specify. |
| Next | Contents | Index |